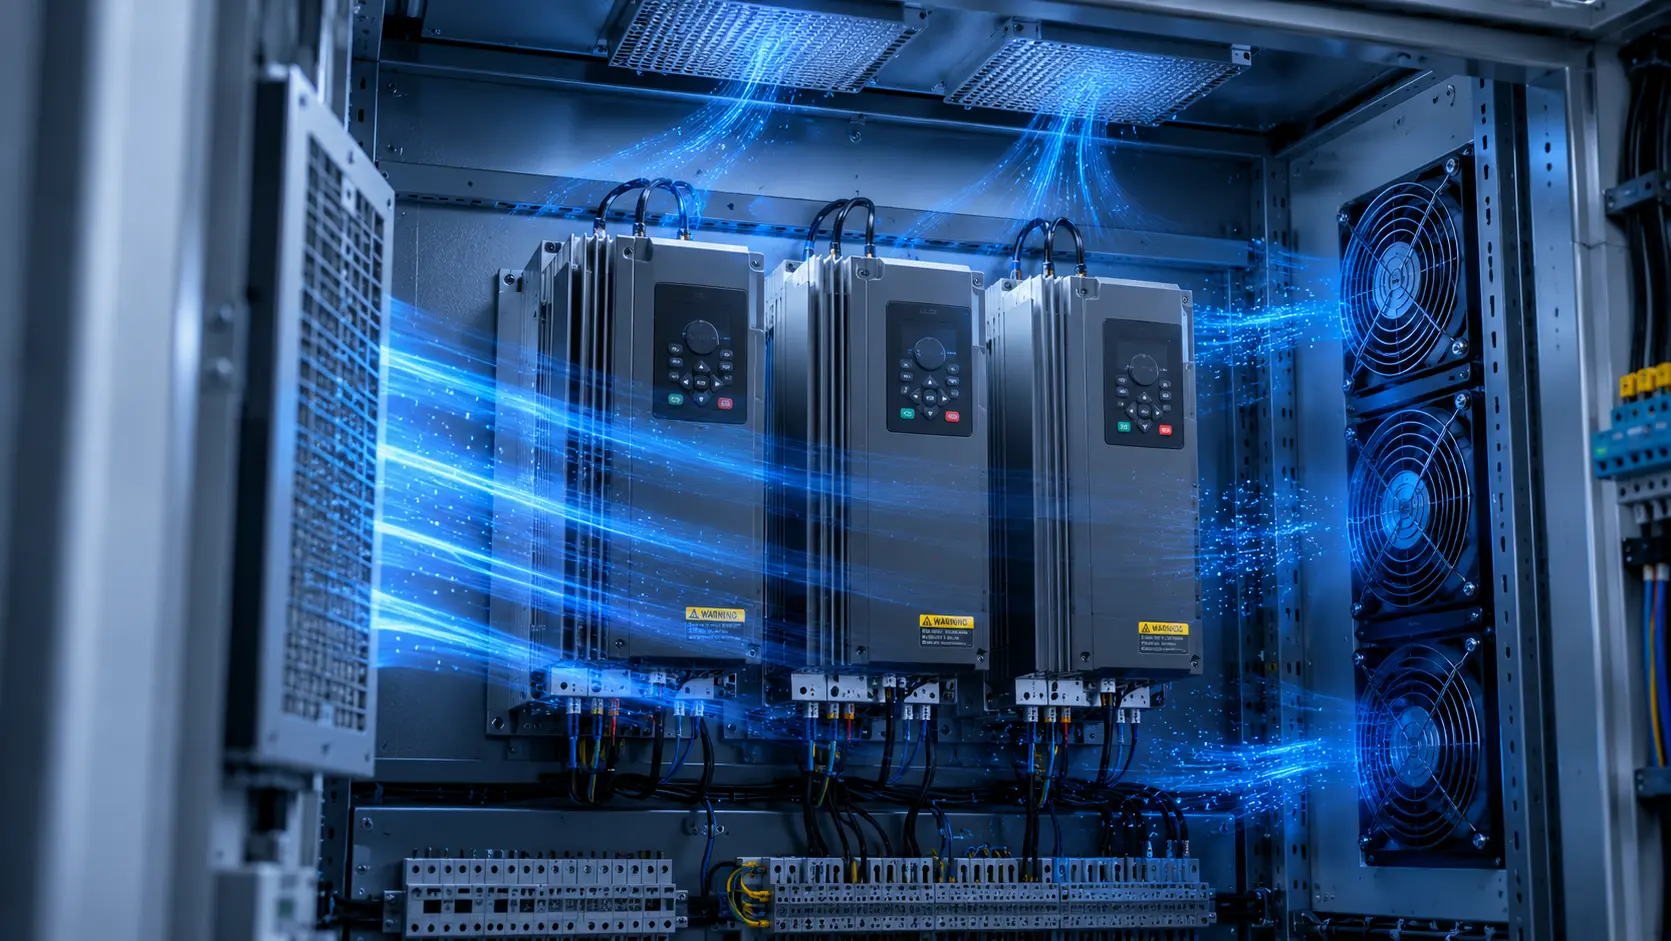
Why a drive cabinet needs a measured cooling case
A variable-frequency drive or servo-drive cabinet can appear to have enough ventilation while a power module, braking resistor or DC-link area remains hot. The problem is rarely solved by choosing the largest free-air fan. The real duty is set by the heat load, filter, grille, cable bundles, heatsink channels, cabinet leakage and the controller's operating state.
This engineering case describes a validation method for an industrial drive cabinet. It is an anonymised project pattern, not a named customer result and not a universal performance guarantee. Any bracketed value must be replaced by an approved measurement before release. MEGA Tech's role is custom cooling-fan development, fan selection, air-path review, sample validation and volume production; the equipment maker remains responsible for the complete drive system and its safety functions.
1. Map the cabinet heat sources before selecting a fan
Start with the drive's operating states: standby, continuous rated load, overload or acceleration, regenerative braking and the hottest allowed ambient. List semiconductor losses, DC-link losses, control electronics, braking components, contactors and auxiliary supplies. Separate heat leaving through the air path from heat conducted to the backplate or cabinet wall.
Create a front-to-back airflow drawing. Mark inlet mesh, filter, fan guard, fan direction, heatsink fins, cable routes, blanking plates, outlet louvre and any partition. A fan at the cabinet roof does not prove that air reaches the hottest drive module. Photograph the prototype in the exact cable and panel configuration used for the test.
2. Convert the approved loss budget into an airflow target
For a first estimate, use the sensible-air balance Q = P / (rho x cp x DeltaT). Document the heat assigned to the air path, air-density basis, specific heat and allowed temperature rise. The result is a theoretical minimum: it assumes the air actually sweeps the heat source and that there is no bypass, recirculation or filter service penalty.
Run the calculation for every credible state rather than using one typical efficiency value. Record the drive load, switching state, braking state and ambient basis. If the loss budget is not measured yet, label the result provisional and use the sample test to close the uncertainty. This prevents a catalogue maximum CFM from becoming an unsupported thermal promise.
| Input | Evidence | Why it matters | If unknown |
|---|---|---|---|
| Drive loss by state | Approved loss budget or power test | Airflow target | Use a provisional calculation |
| Hottest component | Thermocouple or thermal image | Thermal acceptance | Define sensor location |
| Filter and grille | Released mechanical drawing | Pressure loss | Test clean and service state |
| Fan control | Terminal trace and interface drawing | Start and speed margin | Verify at connector |
| Cable and partition state | Production photograph | Bypass and distribution | Do not approve an open cabinet |
3. Select at the installed operating point
A fan curve and a cabinet resistance curve meet at the installed operating point. Include the filter, finger guard, heatsink, outlet, cable blockage and any acoustic mesh in the pressure budget. Compare candidates at the required airflow and static pressure, not at the zero-pressure endpoint. The MEGA Tech fan selection tool can organise the initial envelope; the assembled cabinet must provide the final evidence.
Measure differential pressure at defined taps and record the fan terminal voltage, command, speed and current at the same time. If airflow is low at normal RPM, inspect restriction, leakage and bypass before changing the fan. If the speed is low, inspect the controller, cable drop and minimum-speed setting. This split diagnosis prevents an air-path fault from being disguised as a motor change.

4. Resolve distribution around the drive and heatsink
Industrial drives often have a low-resistance route around the heatsink. A missing blanking plate, a large cable opening or a loose filter frame can let air escape without crossing the semiconductor fins. Smoke or tufts may locate the bypass, but retain quantitative pressure, flow and temperature measurements for acceptance.
Place sensors at the drive inlet, hottest heatsink reference and outlet. Compare the local temperature map before and after sealing or adding a baffle. A mechanical improvement can increase system resistance, so repeat the operating-point measurement after every air-path change.
5. Validate PWM, alarm and restart behaviour
If the controller uses PWM, record its frequency, duty convention, minimum command and startup sequence. For FG or TACH, verify the pull-up, pulses-per-revolution assumption and alarm timeout. An RD or locked-rotor signal is a defined interface, not proof that useful airflow reaches the heatsink.
Test cold start, warm restart, commanded minimum speed, sudden load increase, controlled stop and repeated starts at the approved supply limits. Measure at the fan connector during the transient. A bench supply can hide a cable drop or enable-order problem that appears in the cabinet.
6. Check heat, noise and vibration together
Do not trade thermal margin for a quiet number measured in a different setup. Measure sound at the agreed operator position with the cabinet panels, filter and adjacent equipment installed. Note tonal peaks, grille interaction and panel resonance. For vibration, record sensor location, bandwidth, mounting torque and the drive speed state.
A fan that is acceptable in free air can excite a thin cabinet panel or a heatsink edge. Check gasket compression, screw torque, cable contact and clearance. The cooling fan noise guide explains why distance, background noise and installation condition must be fixed before comparing samples.
7. Test service condition, not only the clean prototype
Define the service filter condition by differential pressure, service indicator or an approved replacement criterion. Then repeat the thermal and acoustic run with the filter installed in that state. Record whether the controller raises speed, whether power and noise change, and whether the hottest component still has the approved margin.
Also check that the fan, connector, guard and gasket can be replaced without disturbing live power wiring. A service step that changes fan direction, seal compression or cable routing can invalidate the original operating point. Preserve the work instruction and photographs with the validation record.
8. Build a release matrix
The release matrix should include nominal load, maximum approved load, minimum and maximum supply voltage, clean and service filter, all panels and cables installed, normal control, alarm response and restart. For each row capture sample revision, drawing revision, instrument status, ambient, heat load, flow, pressure, speed, power, noise and hottest component temperature.
Classify each row as pass, approved deviation, fail with corrective action or not tested. Keep not-tested boundaries visible. A sample is ready for the next stage only when the fan configuration, mechanical air path, electrical interface and acceptance method are frozen together.
| State | Record | Acceptance basis |
|---|---|---|
| Rated load | Flow, pressure, speed and hotspot temperature | All approved thermal limits |
| Overload or braking | Heat state, duration and alarm | Defined transient margin |
| Service filter | Filter pressure, fan command and temperature | Service condition remains acceptable |
| Voltage limits | Terminal voltage, start and feedback | Control and alarm remain valid |
| Noise and vibration | dB(A), tonal notes and sensor trace | Agreed installed measurement |
| Replacement | Connector, gasket, torque and direction | Repeatable service procedure |
9. Request a representative sample review
For a custom fan review, send the drive loss by operating state, target airflow and static pressure, frame and thickness envelope, supply voltage and tolerance, PWM/FG/RD requirement, connector and cable, mounting, filter and grille, ambient and altitude basis, noise measurement point, vibration concern, expected quantity and the acceptance state. A part label alone is not enough to establish equivalence.
MEGA Tech develops and manufactures custom cooling fans and supports selection, air-path review, sample validation and batch production. Start with the products catalogue, read the fan selection guide, then contact the engineering team with the real cabinet conditions.
Engineer FAQ
Why does a drive cabinet need its own fan curve? Because the filter, heatsink, cable path and outlet create a resistance curve that differs from a catalogue test.
Should I select by the drive's maximum CFM? No. State airflow at the installed static pressure and verify the intersection in the cabinet.
What if the fan reaches normal RPM but the drive is hot? Check pressure, flow, bypass, recirculation, filter loading and sensor placement; RPM alone is not delivered cooling.
Do I need to test braking or overload? If the equipment permits those states, include the approved duration and heat load in the release matrix.
What information helps a custom sample review? Send the operating-point duty, envelope, control and feedback, environment, mounting, noise point and production quantity.
Questions for a Design Review
- Which drive state is the thermal release case, and is its loss measured or calculated?
- What airflow is required at what static pressure, with which filter and grille?
- Where is the hottest approved component and how is it measured?
- Are cable routing, blanking panels and cabinet covers in the test configuration?
- What are the PWM, FG/RD, startup and alarm requirements?
- What happens at service-filter pressure and at the supply-voltage limits?
- Which results are measured, which are calculated and which remain pending?